Vintage Prints Tip in Apple Photos
Apple shipped Photos application in 2015 as a replacement for iPhotos and Aperture. Photos was launched with mix reviews from the Apple community. Some people liked the speed improvement and enhanced editing functionality. Others think that Apple's decision to retire a pro image application (Aperture) for a free consumer solution was the wrong direction.
One of the nice features of Photos is how easy it is to create slideshows from an unlimited selection of pictures. Anybody can make professional looking slideshows very quickly.
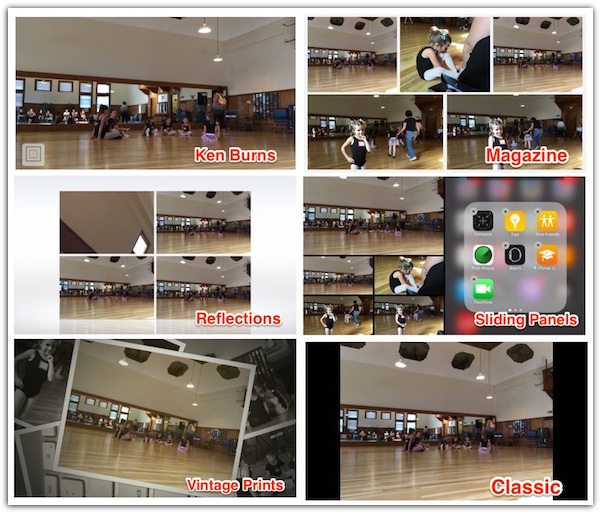
Photos comes with seven different slideshow themes: Ken Burns, Origami, Reflections, Sliding Panels, Vintage Prints, Classic, and Magazine.

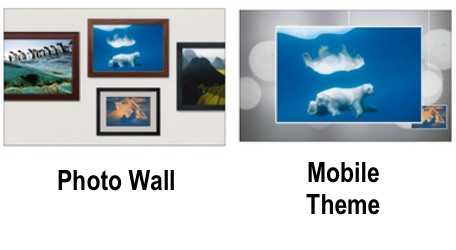
I wished that Apple would make some of the Desktop Screen Savers as part of the slideshow themes. In particular, I would like the ability to create Mobile and Photo Wall slide show movies.

Super Easy to Create a Custom Slide Show
You simply select the photos that you want to include in the slideshow and select "create slideshow" from the file menu. Once the slideshow group is creating the theme, background music , text overlays and duration of the show.
Once you generate the award-winning show, you can export the video to YouTube or to a file for further enhancement in iMovie. In iMovie you have better control on where the music plays and speed up and slow down the show as needed.
Tips and tricks with the Vintage Print Theme in Photos
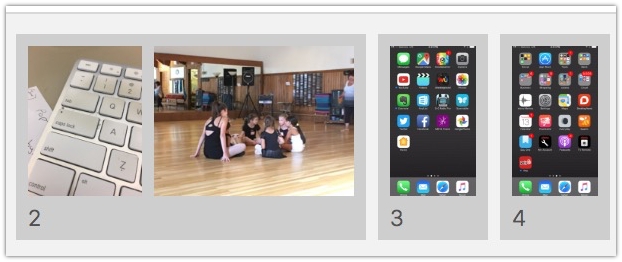
I really like the Vintage Prints Theme in Photos. I like how the background is random photos in the slideshow. One of the problems with the Vintage theme is that you don't have much control over the individual slides. There might be times where the application will combine two pictures on a single slide and the two pictures don't compliment each other.
Example situation:

Apple Photos has combined the two photos in the first slide, but they are not related.
There is no way around this, I can't force the application to not combine the two objects. I can, however, replace the object with the text field. This will move the unrelated photo to its own slide.
Steps to Add the Text Slide:
- Click on one of the Photos that you don't want to be in the slide.
- Click on the '+' icon in the bottom right and click on 'Add Text'
- You should see the text box appear in the double slide.
- By default the text in the slide says, 'Default Text'
- You have two options:
- You can enter in some text, describe the location or information about the other picture in the slide.
- You can removed the entire 'Default Text' and enter in a space to have an empty box. You can't have an empty box, so if you just delete the text, the words 'Default Text' will still appear.
