Repair vs InPainting Brush Tool
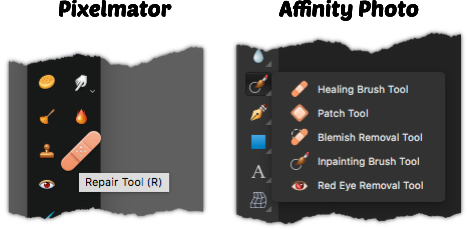
If you migrating from Pixelmator to Affinity Photo, you might be confused by a common tool: The Repair tool.
Pixelmator's Repair Tool
Pixelmator describes the Repair tool as:
Use the Repair Tool to correct imperfections, causing them to disappear into the surrounding image. The Repair Tool also matches the texture, lighting, transparency, and shading of the sampled pixels to the pixels being repaired. As a result, the repaired pixels blend seamlessly into the rest of the image.
Affinity Photo
The tool that produces the same effect in Affinity Photo is the InPainting Brush Tool. Some users may get confused because the Affinity Photo used the same bandaid icon for the Healing Brush Tool.
Affinity Photo describes the Inpainting Brush Tool:
The Inpainting Brush Tool restores damaged, lost, deteriorated or unwanted areas of an image.
To access the InPainting Brush Tool in Affinity you can select it from the toolbar or simply by typing the keyboard shortcut: J

Tip on using the Tool
When using the tool, it's best to use a smaller brush size, and to zoom into the area. If you use a large brush, you might encounter some unwanted objects replacing the area that you are trying to clean up.
Example Work
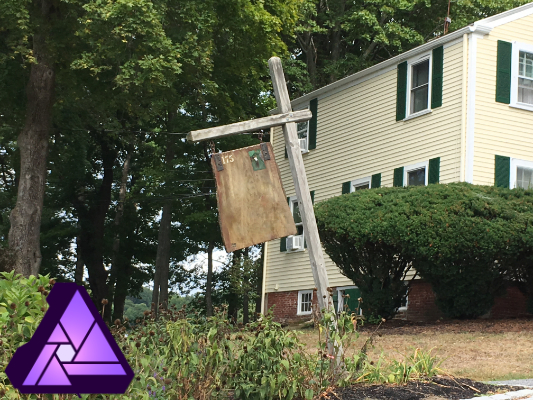
I tested both the Repair Tool in Pixelmator and the InPainting Brush Tool in Affinity Photo and they both produce the same output. I think the InPainting did a better job keeping the wood colors to match in my example.
In this example, I am removing the white words from the sign.

Using the InPainting Brush Tool in Affinity Photo
![]()
Using the Repair Tool in Pixelmator
