Art Text 4: Photo Colorize
Make an Ordinary Photo be Extraordinary
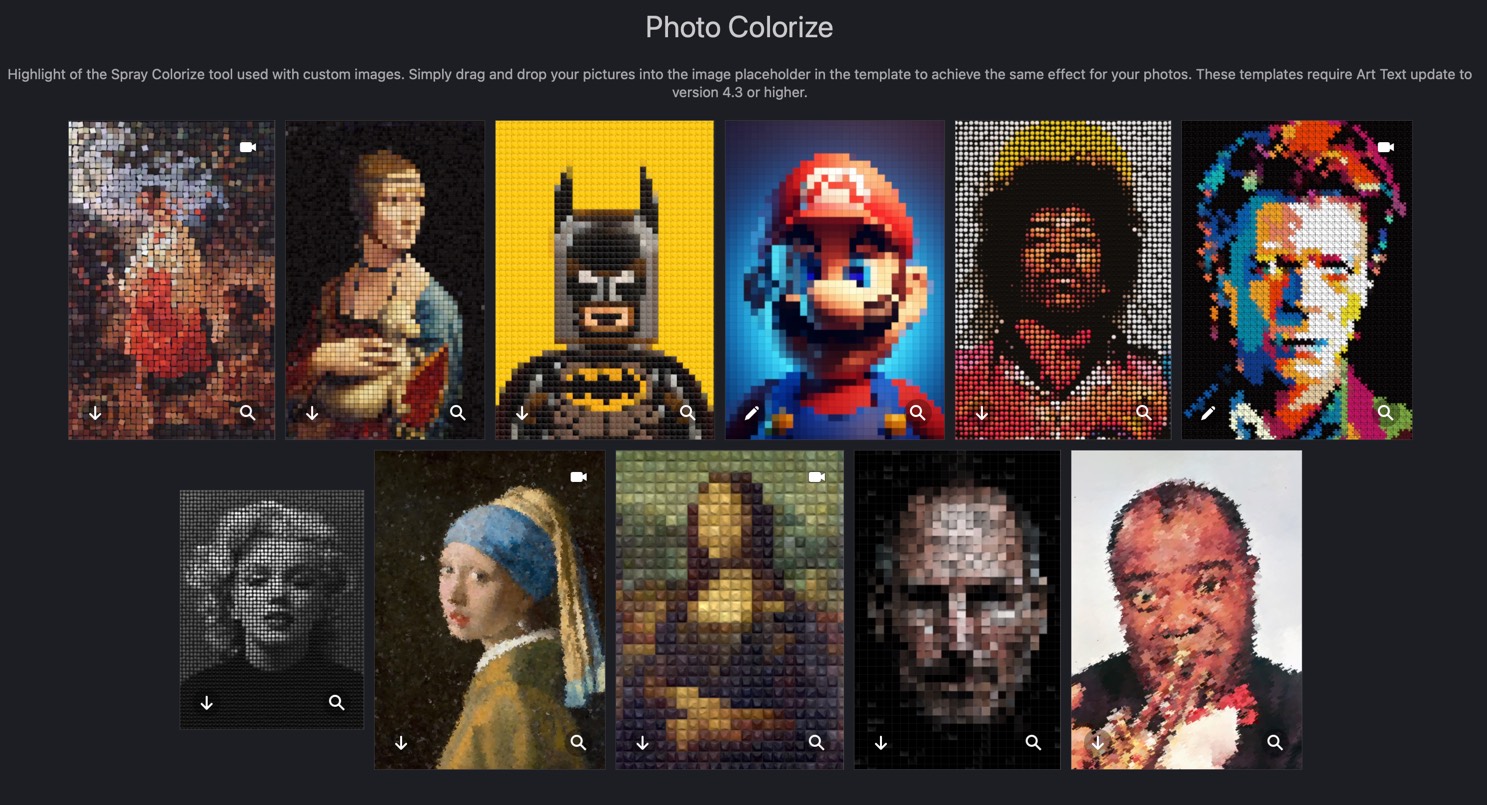
In the latest update, Art Text 4 included a new tool to make images look like art. This is done by using the Spray Tool to match the color of the image. It's a cool way to make an ordinary image to stand out.
BeLight Software includes 11 different Photo Colorized designs in the Typography Templates in Art Text 4 and in Letters. Simply select the style you like and then replace the image with your own.

How to Change the Colorize Image
- Select a Photo Colorize Template from the template gallery
- Select the Image and in the RIght Menu click on fill
- Scroll down and click on the Gear next to Colorize
- Click on the Placeholder Image
- Choose the folder that has the image you want to use, for example Desktop.
- In Art Text 4, you can may all sorts of changes to the Density, Size and Angle. Each change creates a different effect.

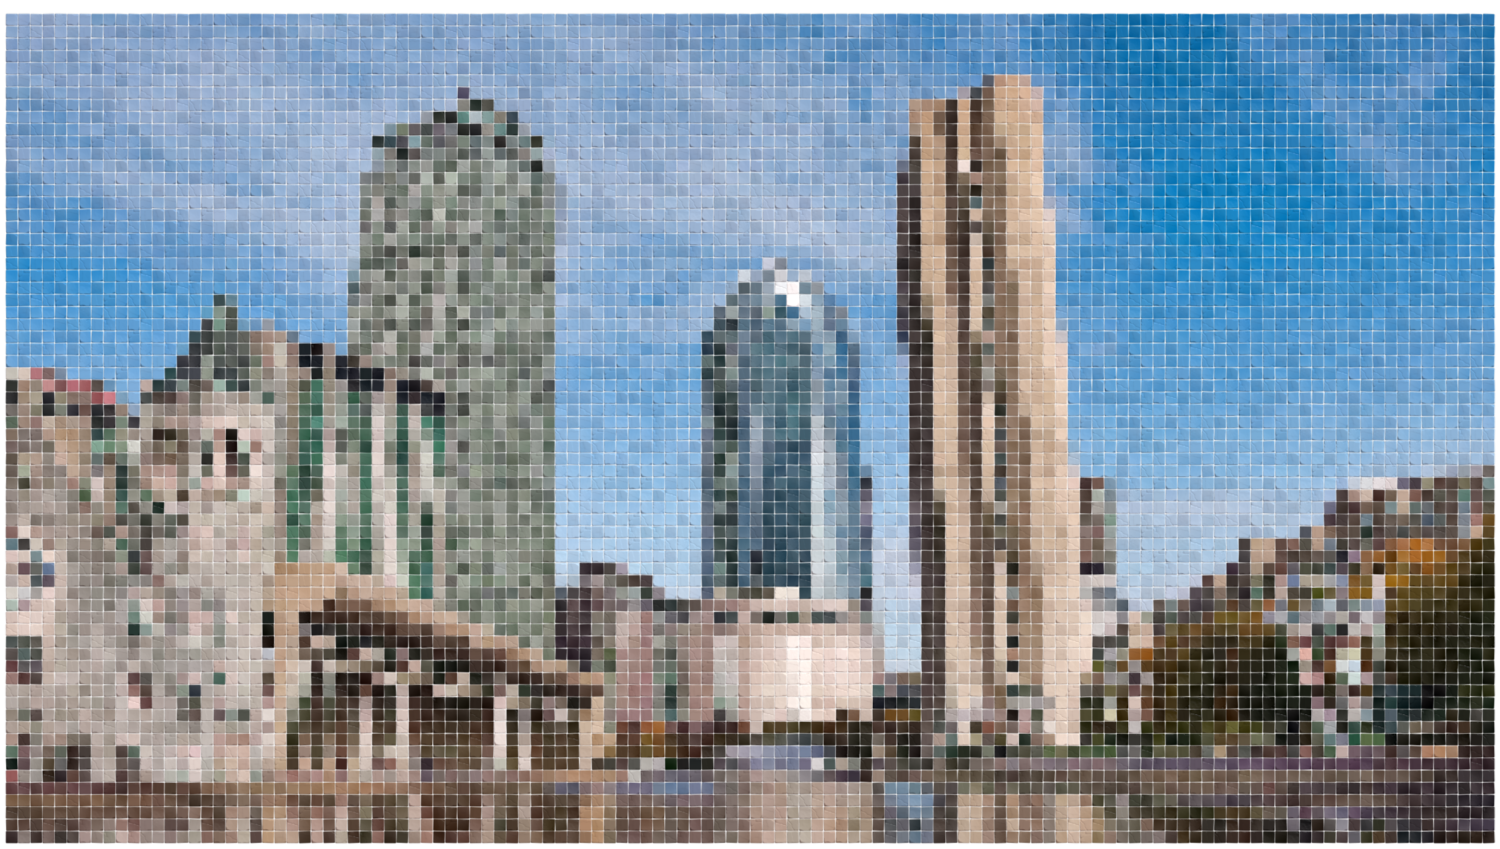
Boston's Back Bay in a nice Colorized image. This looks like something you would see on the wall at a T-station.
Five Things I Learned About the new Colorize Tool
- Available in Letters and Art Text 4. Art Text 4 is better because there are a lot more configurations. Letters just has some basic setup.
- There's not much documentation on how to use the Colorize fill to make your own design from scratch. I found that it's best to use the templates that are provided as a base.
- After you replace the image, you can resize the Colorized image. This is useful if you have a landscape photo or wanted a smaller version of the portrait.
- Once I was done with the image, I selected the image and copied the image to the clipboard and pasted it in Photoscape X to resize it and compress for the Internet.
- Art Text tool is a tool to make text look awesome. This isn't a image editor, so the spray tools may look limited - but that's what I would expect from a Text Tool. I checked other applications, Affinity Photo, Photoscape X, Graphic Converter, and Inkscape and couldn't duplicated the functionality that Art tool provided.
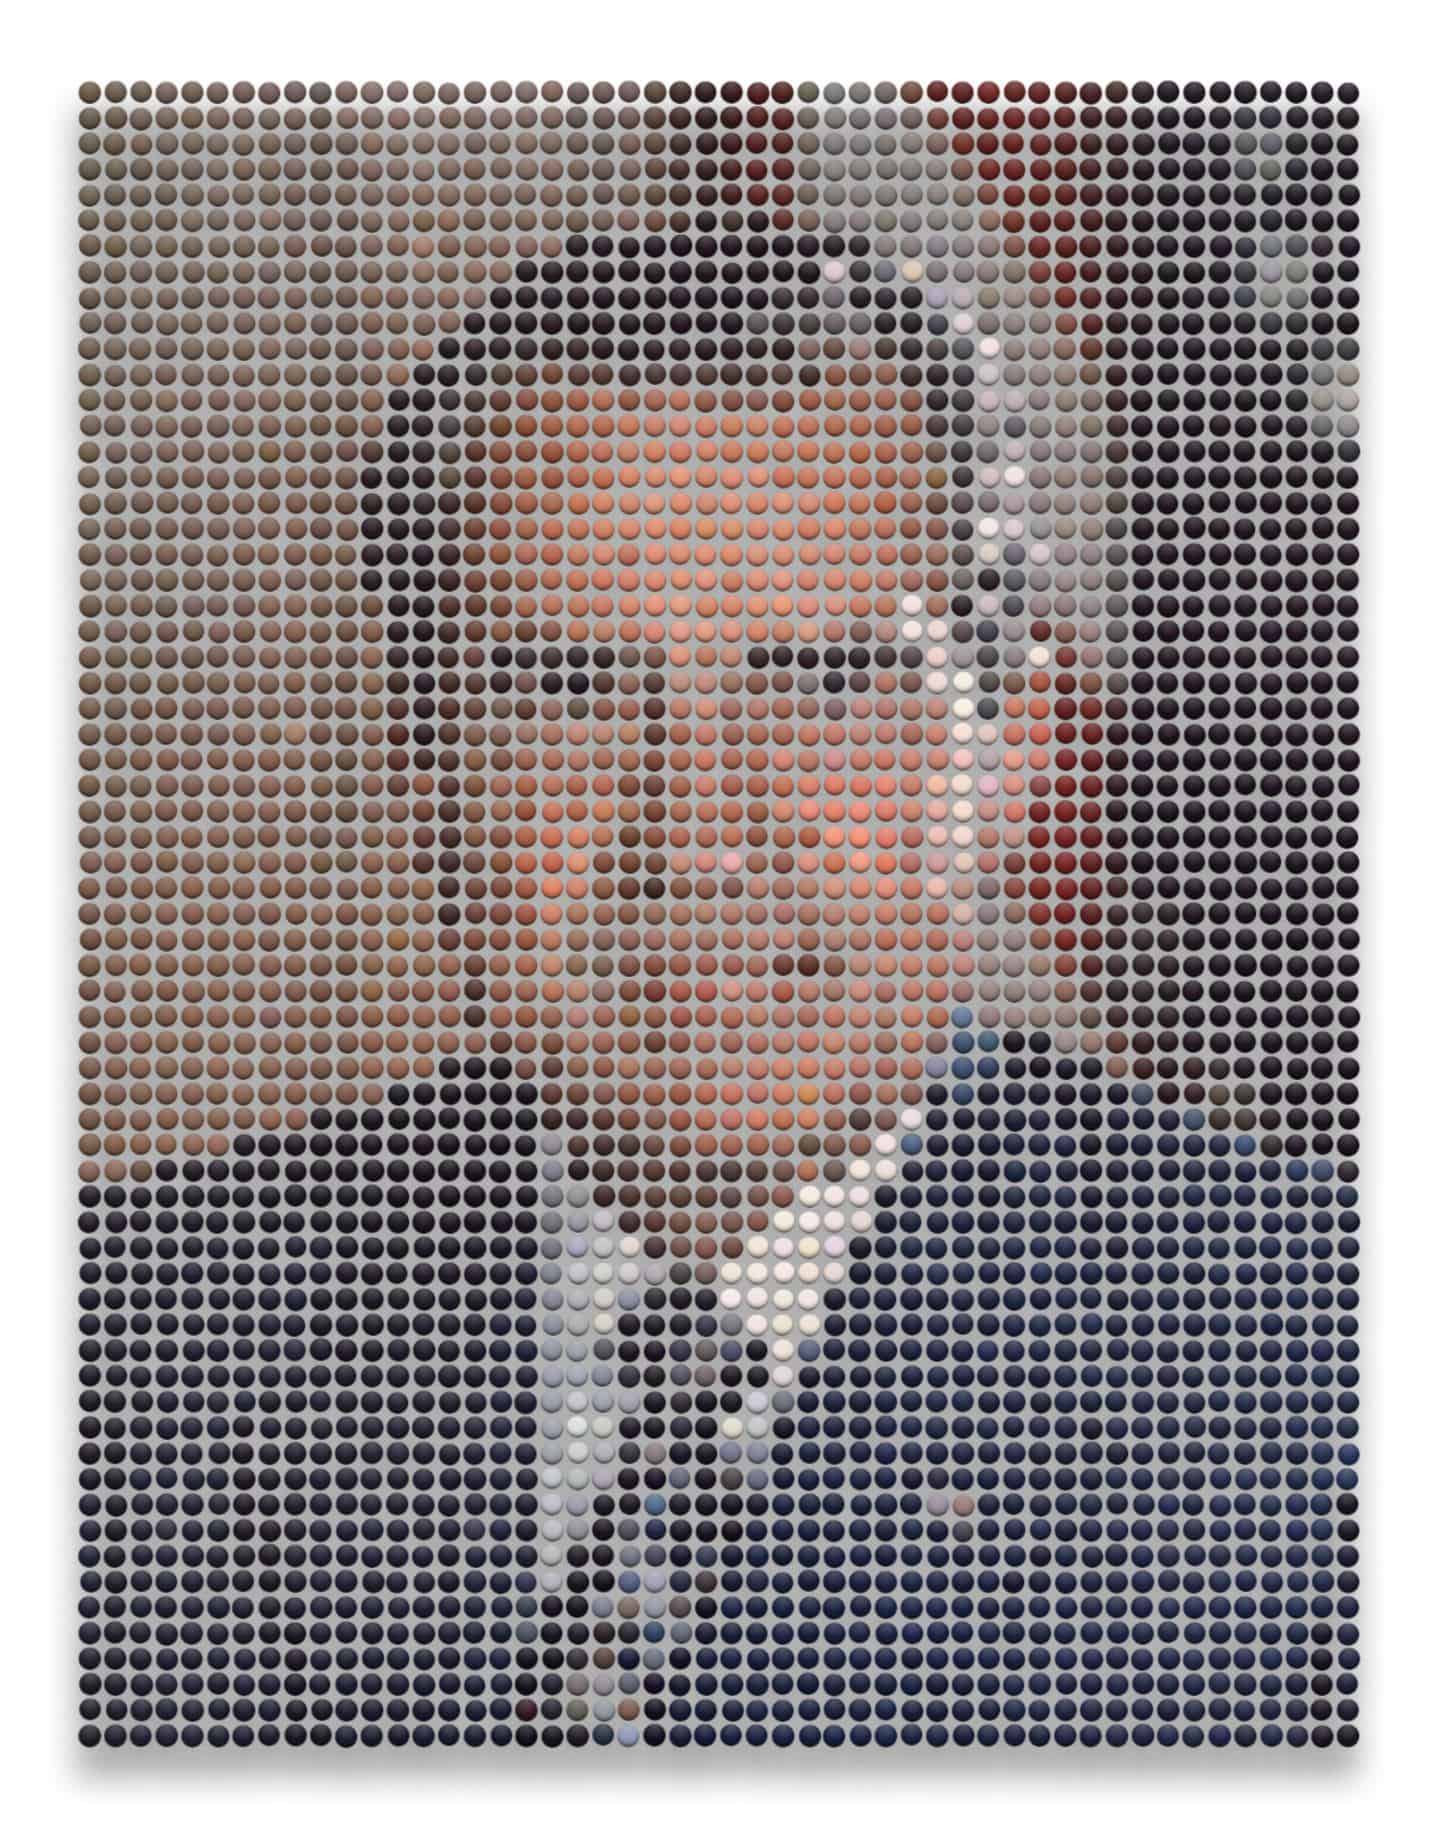
Sample Image

