
Chalkboard in Art Text
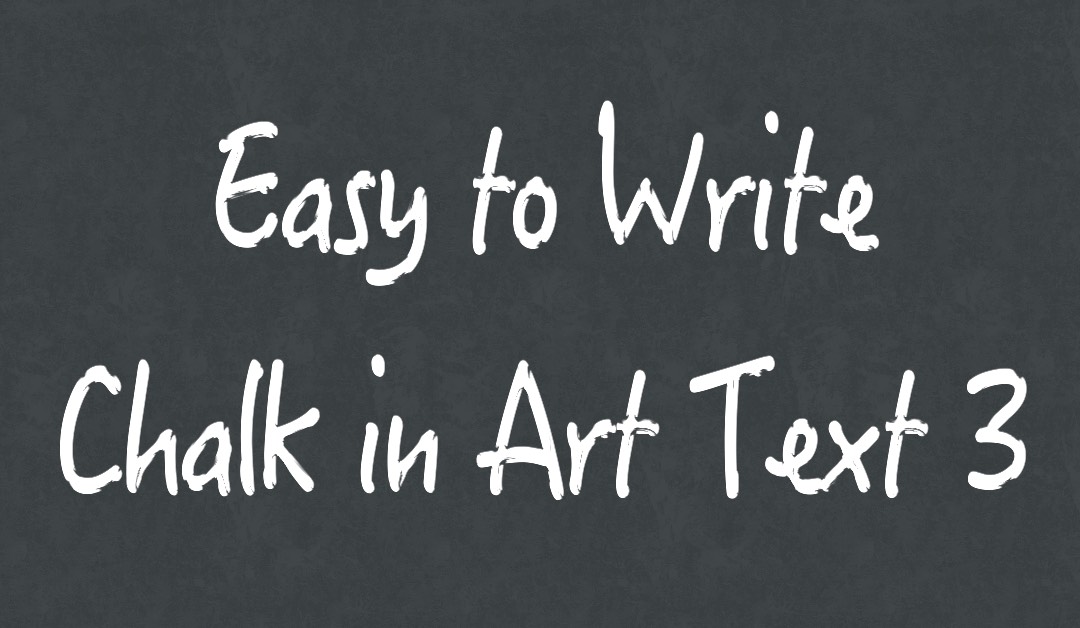
Easily create the Chalk effect in Art Text 3
Art Text 3 is a pretty powerful text tool. I wanted to learn how to create a cool chalkboard effect, similar to designs that I saw in BeLight Letter application.
Belight claims that all the Letter designs can be done in Art Text 3. What they don't tell you is that it is just a bit tricky to make it work.
How I got it To Work
For the Background, I created a new background layer, Selected Fill, then Grunge, then gruge_29. If you want more realistic chalkboard backgrounds check out the Chalkboard Textures created by BMACHINA Labs. It cost $5 and you get 16 different variations.
For the Text, it's a bit tricky. There is a Chalk 2D Text, but it's only in Purple. (Not exactly sure why Belight did that.) So the secret is to create your own Brush in White so that it will have the chalk edge effect. (Note: I tried to figure out how to change the color from purple to while but the following steps is the only way I could get it to work.)
To get you started, download my 200 x 200 white image and add it to your collection:
- Download the Smoke Image that I created.
- In Art Text 3, go to Fill, then Shading, then pull down the menu to you see "Create a Material."
- Click the button that says, "Create from Image"
- Find the image that you just download.
- Then Click Apply
- Now the Smoke Image will appear in the "Custom Materials" section, ready to be applied whenever you want.
So now you can still select the Chalk 2D text as a Font Template, then switch it over to the Custom Shading that you added.
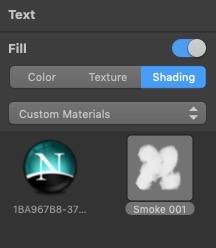
You can see the new "Smoke" Custom Fill.
Bonus: You can easily create different color smokes effects for different color chalk effects. Simply create a 200x200 image in Affinity Designer or Pixelmator and use the paint brush to create your own creative design. Don't forget to save it as a PNG file!