Tables in Swift Publisher
Some Tips and Tricks using Tables in Swift Publisher
Swift Publisher can add tables for your projects. They are simple to use and offer some flexibility in laying out content.
Application Description
Tables are commonly used to organize text and numeric data. Sometimes, tables are used to arrange text or images on the page, such tables are usually made invisible.
Moving, resizing and other common operations work with tables just like with other objects.

Six Things I Learned
- The only way to create a table is to use the Table menu from the Insert Menu. In other words, you can't convert a text into a table format, you have to start with the table then add content.
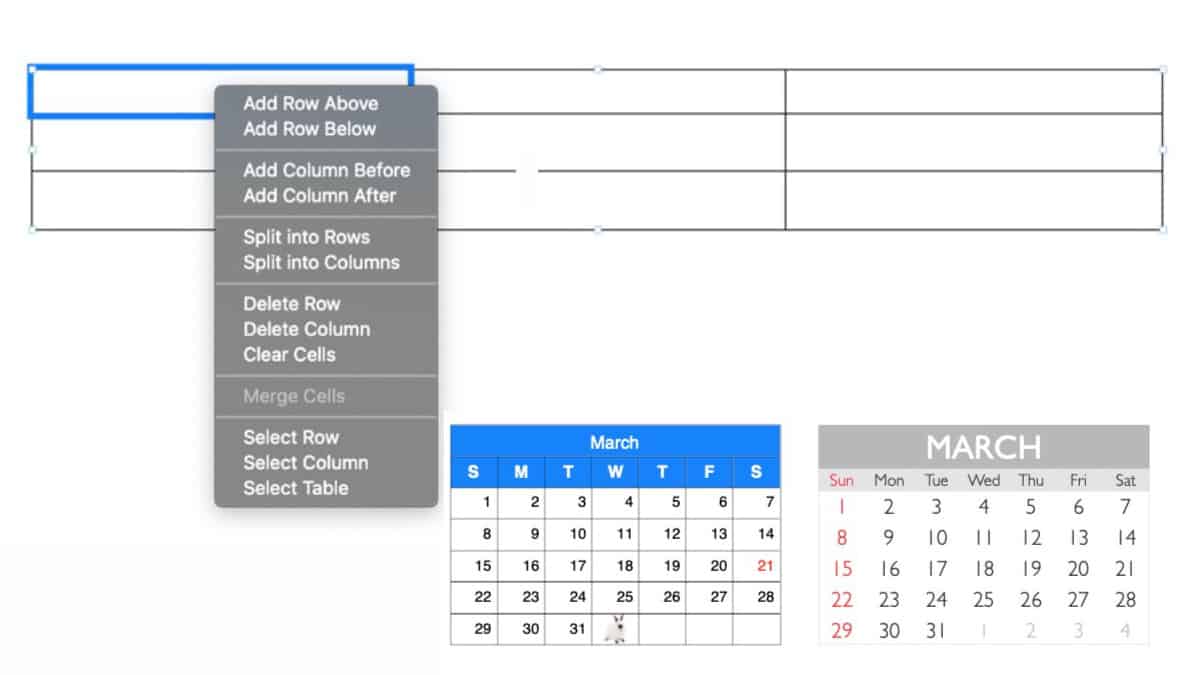
- You can add columns and rows on any table by right clicking on the table and selecting the appropriate action.
A quick way to add a lot of Rows or Columns: Select any Table, right click, select "Edit Table" and then you have the option to Add/Remove Rows and Columns.
- You can easily tab through the cells, when you tab at the end of a row the first cell in the next row is selected. If you are at the last row, a new row gets created.
- If you want to clear the table content, select the row/column, right click and select "Clear Cells." There is no option under the Edit menu.
- Copy and Past text from Numbers or Excel just paste in the cell values and not a table format with the values.
Take Some Time To Use the Tables
As I was playing around with the functionality of the table in Swift Publisher, I found it to be a very useful feature. It took some time to understand how tables work.
Its worth spending some time with the application to get the most out of the tables functionality.
It would be nice to have a conversation functionality to "jump-start" a table in a document. For example, if you had some data from a spreadsheet that you would like to display in a flyer.
