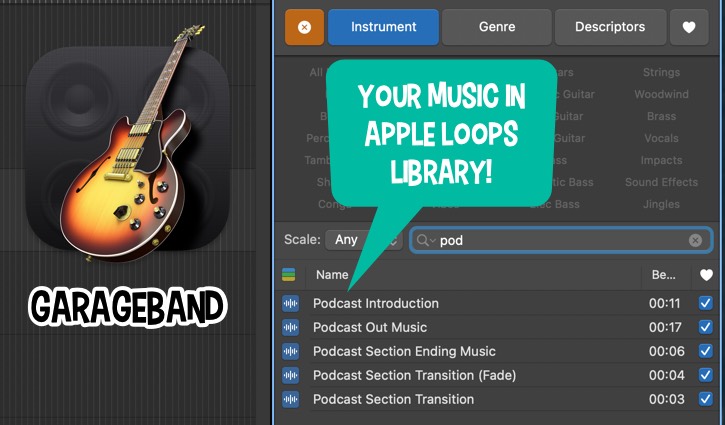
Adding Custom Songs and Clips to the Apple Loop Library
Enhance Your Music Production

Hello, fellow Mac enthusiasts and music maestros! Welcome back to another Friday edition of Macintosh Blog, your go-to source for all things Apple and music production. Today, we're diving into a fantastic feature that can supercharge your creative workflow: Adding Your Own Songs and Clips to the Apple Loop Library in GarageBand.
Whether you're a budding producer or a seasoned pro, having a personalized loop library can make your projects more unique and streamline your creative process. Let's walk through the simple steps to enrich your Apple Loop Library with your custom creations.
Why Customize Your Apple Loop Library?
Before we get into the how, let's quickly touch on the why. Apple Loop Library is a treasure trove of pre-made loops and samples that can be seamlessly integrated into your music projects. By adding your own clips:
- Personalization: Tailor your library to match your unique sound and style.
- Efficiency: Quickly access your favorite sounds without hunting through countless files.
- Organization: Keep your workspace tidy by categorizing your loops effectively.

Step-by-Step Guide to Adding Clips to Apple Loop Library
1. Create or Select Your Clip
Start by opening your preferred music production software - GarageBand, Logic Pro, or any other compatible application. Create a new project or open an existing one and select the song or clip you want to add to your Apple Loop Library. Ensure that the clip is well-mixed and mastered to maintain quality across different projects.
2. Drag the Clip to the Apple Loop Section
Once your clip is ready:
- Locate the Timeline: This is where your tracks are laid out.
- Select the Clip: Click on the song or specific segment you wish to save as a loop.
- Drag and Drop: Click and drag the selected clip from the timeline directly into the Apple Loop Library section. This action initiates the process of adding your custom loop to the library.
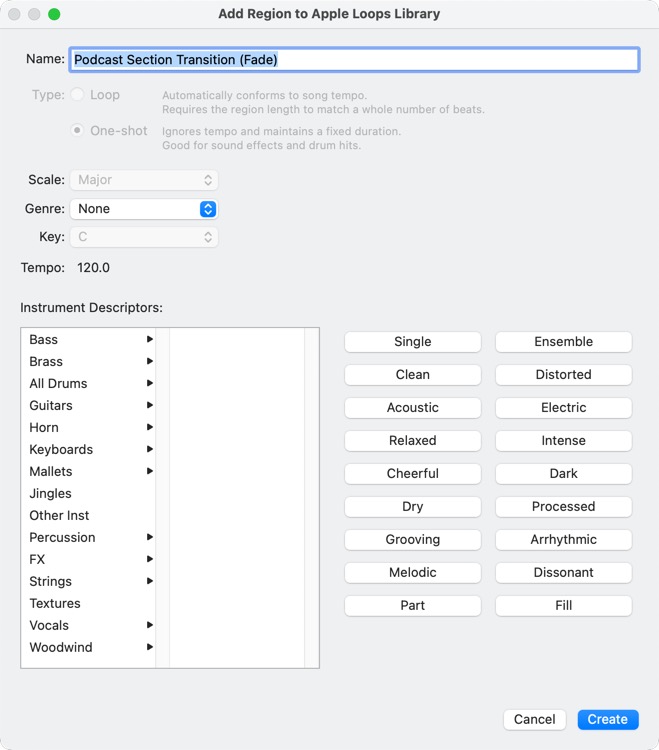
3. Name Your Loop Effectively
Naming your loops thoughtfully is crucial for easy retrieval later. Follow these tips:
- Be Descriptive: Use names that describe the clip's mood, instrument, tempo, or key (e.g., "Sunny Acoustic Guitar - 120BPM - C Major").
- Consistency: Maintain a consistent naming convention to keep your library organized.
- Avoid Generic Names: Steer clear of vague names like "Loop1" or "Track A" which can make searching tedious.
4. Categorize Your Loop
After naming, categorize your loop to fit seamlessly within your existing library structure:
- Genre: Rock, Pop, Jazz, Electronic, etc.
- Instrument: Guitar, Drums, Synth, Vocals, etc.
- Mood/Style: Chill, Energetic, Dark, Uplifting, etc.
Proper categorization ensures that you can quickly locate the perfect loop during your creative sessions.
5. Finalize and Save
Once named and categorized:
- Review: Play back the loop to ensure it sounds as intended.
- Save: Confirm the addition to your Apple Loop Library. Your custom loop is now ready to be accessed in any of your future projects.
Tips for an Organized Apple Loop Library
- Regular Maintenance: Periodically review and update your library to remove unused loops and add new ones.
- Backup: Keep a backup of your custom loops to prevent data loss.
- Tagging: Utilize tags or keywords for even quicker searchability within your library.
- Version Control: If you frequently update a loop, consider versioning (e.g., "Bassline V1", "Bassline V2") to keep track of changes.
Conclusion
Adding your own songs and clips to the Apple Loop Library is a straightforward process that can significantly enhance your music production workflow. By following these simple steps - dragging your clip to the library, naming it thoughtfully, and categorizing effectively - you can build a personalized library that reflects your unique sound and accelerates your creative process.
Stay tuned for more tips and tricks every Friday here at Macintosh Melody. Until next time, keep creating and harmonizing with your Mac!
