Stitching Panoramas in Affinity Photo
One of the really nice things I like about Affinity Photo is how easy it to create Panoramas from a set of photos.
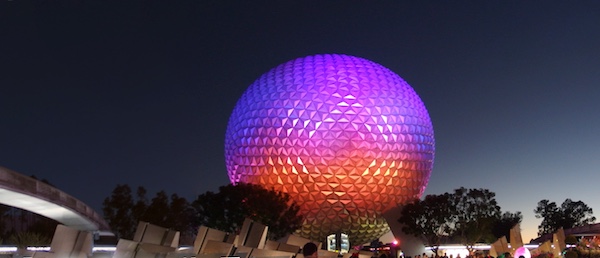
Take a look at a couple of photos that were generated from Affinity Photo:

Spaceship Earth at night

Patriot's Parade in Copley Square.
Creating Panoramas
The first thing to learn about making awesome Panoramic Photos is taking the proper photos. If you don't have a good selection, then your results won't be good.
Four things that I have learned:
- Make sure to take enough pictures that you want to use.
- Have a good overlap between shots
- Keep your camera steady with the horizon.
- Keep the light balance the same between shots.
- Avoid having moving objects such as cars and people in the shots.
Using Panoramic Functionality in Affinity Photo
It's super simple to generate Panoramic pictures:
Prep:
Figure out which photos that you want to use in your Panoramic. I find it easier to create a folder on the desktop and put the photos that I want to use in there.
- Open up Affinity Photo
- Select 'New Panorama..." from the file menu
- Click 'Add' and navigate to the Desktop and select all the photos that you want to use.
- Render the image by clicking on 'Stitch Panorama'
- Do a quick check and make sure the finish product looks good in the preview.
- Click on the Crop icon, and in the top toolbar look for 'Crop to Opaque.' (It's on the far right of the toolbar.) This will give you the best crop for your image.
- Use the Inpainting Brush to fix any gaps.
If you find that your cropping large areas of your photo, you need to learn the fundamental of taking good panoramic photos: keeping the horizon the same in all your shots.
Affinity Photo recommends to use a tripod to take panoramas, but that's not always easy to do. Once you learn how easy to create Panoramas in Affinity Photo you'll be thinking twice when taking pictures on your next vacation.
Why not just use iPhone Pano?
The key reason of using Affinity Photo over the built in Pano on the iPhone is that you have a lot more flexibility. You can modify the pictures before stitching them together, fix the horizon and much more.
