
Round Corner Images in Affinity Designer
Quick and Easy
Greetings Macintosh enthusiasts! This week, let's dive into a nifty trick using Affinity Designer, a powerful tool for graphic designers. Have you ever wondered how to add those smooth, round corners to your images, giving them a polished and professional look? Look no further! In just five simple steps, you can achieve this effect effortlessly. Here's how:
Step 1: Apply Your Desired Style
Start by applying your preferred style or effect to the image you want to edit. This could be anything from a filter to a color adjustment - it's up to you! Experiment with different styles until you find the one that suits your vision.
Step 2: Convert the Image to Curves
Once you've applied the desired style, it's time to convert your image to curves. To do this, select your styled image, navigate to the 'Layer' menu, and then click on 'Convert to Curves.' This step essentially changes your image into an editable vector graphic.
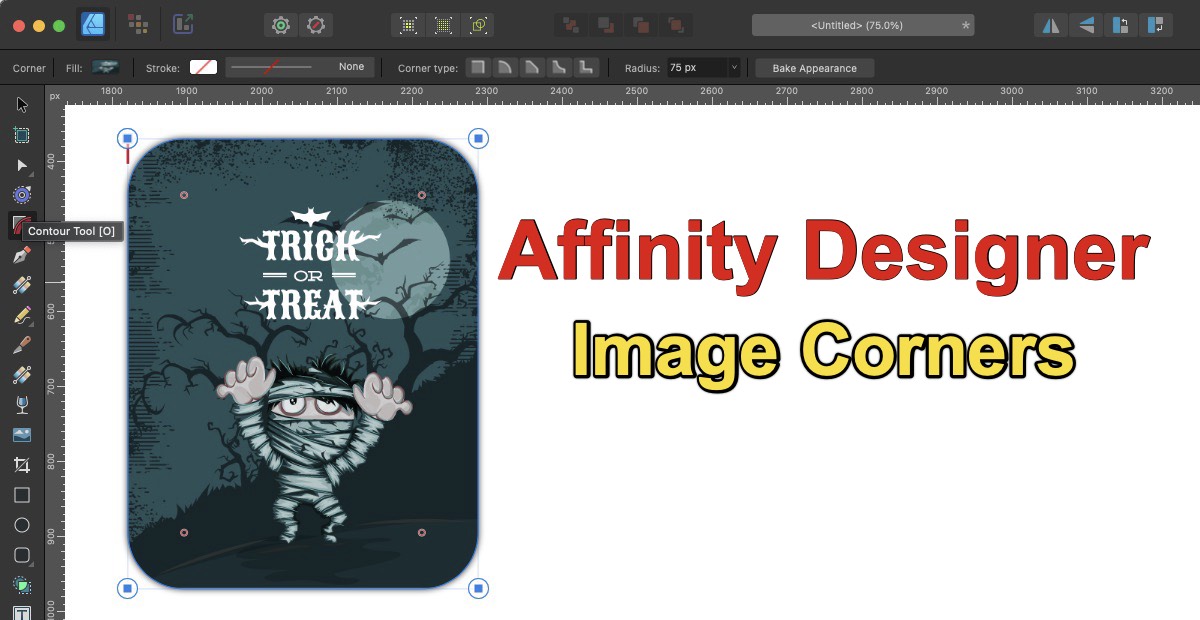
Step 3: Access the Corner Tool
With your image now in curve form, it's time to bring on the round corners! Locate the 'Corner Tool' in the toolbar. It usually looks like a square with a radius arc in one corner. Click on it to activate the tool.
Step 4: Adjust the Corner Radius
Now comes the fun part - adjusting the corner radius. Click and drag any of the corner nodes of your image to round the corners to your desired level. Affinity Designer allows for precise control, so you can make subtle adjustments or go for bold, rounded corners - the choice is yours!
Step 5: Apply and Save
Once you're satisfied with the rounded corners, it's time to apply the changes. Simply click outside the image or press Enter, and voilà! Your image now boasts those sleek, rounded corners you've been aiming for. Don't forget to save your work to preserve your edits.
And there you have it - in just five steps, you've transformed a regular image into one with rounded corners, adding a touch of sophistication to your design. Feel free to experiment with different styles, corner radii, and image types to unleash your creativity!
Helpful Guide

Stay tuned for more exciting Macintosh tips and tricks next week. Happy designing!