Creating Reusable Assets from EPS Files in Affinity Designer 2
Take Advantage of a Feature not in Pixelmator Pro
If you're an Affinity Designer 2 user, you know the software's versatility in handling various graphic formats, especially EPS files. EPS files often contain individual objects and designs that can be reused across multiple projects. However, navigating through countless EPS files to find the exact asset you want can be time-consuming. Here's a simple, effective method to convert those objects into reusable assets directly within Affinity Designer 2.

Step 1: Accessing the Object in Your EPS File
To start, open the EPS file containing the object you want to save as an asset. By holding down the Option key (or Alt key on Windows), select the specific object within the EPS file. This key combination makes it easy to isolate the item you need without selecting unwanted elements.
Step 2: Creating a New Design File
Once you have your object selected, create a new design file by pressing Command + Option + Shift + N (or Ctrl + Alt + Shift + N on Windows). This step will bring up a fresh canvas, ready for you to work with your newly isolated object.
Step 3: Grouping Objects for Easy Asset Management
In your new design file, select all the elements of the object and group them. Grouping simplifies the asset creation process and keeps everything organized, especially if you're working with complex graphics or multiple layers.
Step 4: Dragging and Dropping into the Asset Panel
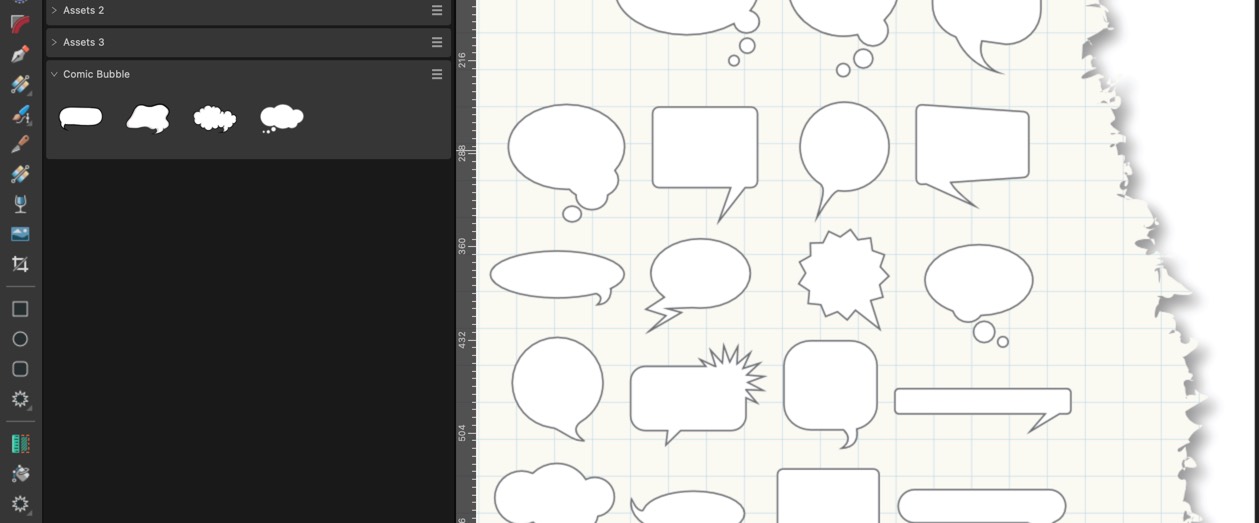
With your object grouped, it's time to convert it into a reusable asset. Simply drag and drop the grouped layer into the desired Asset group within Affinity Designer's Asset panel. This quick action stores your object as an asset, so you won't need to search through EPS files repeatedly.
Why This Method Works
This approach saves you time and improves your design workflow. By converting EPS objects to assets, you can easily reuse them across different projects without hunting down the original EPS files. The drag-and-drop functionality within Affinity Designer 2 makes creating assets straightforward, allowing you to build a personal library of graphics that's always on hand.
Conclusion
Affinity Designer 2's asset creation feature is a powerful way to repurpose EPS graphics. By following these steps, you'll have an organized, efficient system to keep your best objects at your fingertips. With just a few clicks, you can streamline your design process and make your workflow smoother and more enjoyable.
Try this out, and let Affinity Designer 2 help you create a well-organized asset library that enhances your creative productivity!
